| 2020: Starry Hill turns Ten (2020-11-30) ⬅︎ |
 |
Ten years ago -- in 2010 -- the Starry Hill Observatory was born after 13 months of labor. Since then thousands of
people have come through its doors with the hopes of connecting with our grand universe.
When we started out, we knew almost nothing about how to build an observatory. For those of you wondering how
it's done, here's what we did in 13 Steps...
Step 1: Find People who have Been-There-Done-That. We wanted our observatory to be used for
outreach. Since there are no how-to books or youtube videos available on this, we found other observatories used
for
outreach and met with the people who ran them to learn as much as we could.
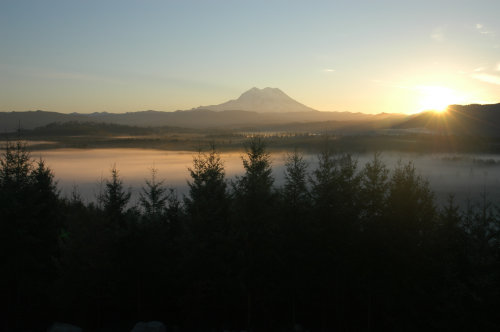
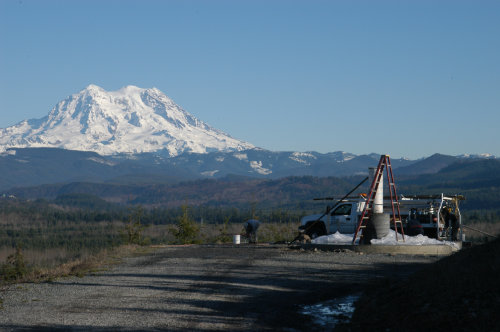
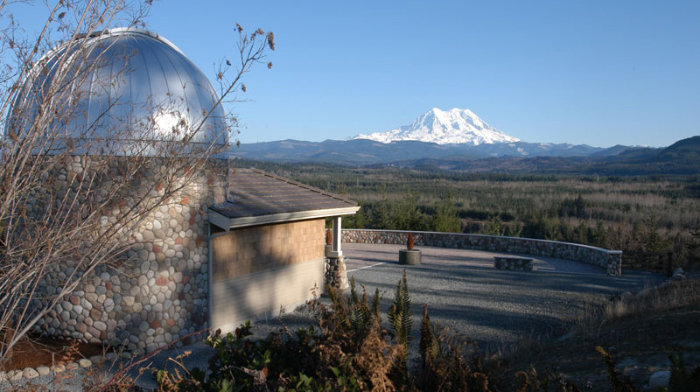
Step 2: Find the Right Location. Realtors will tell you the three most important things in finding a home --
1) location, 2) location, and 3) location. For a successful observatory, this is true as well. We would need a location
with dark skies but one not too far from people -- one on the edge of civilization. We found a
perfect spot outside Eatonville, WA.
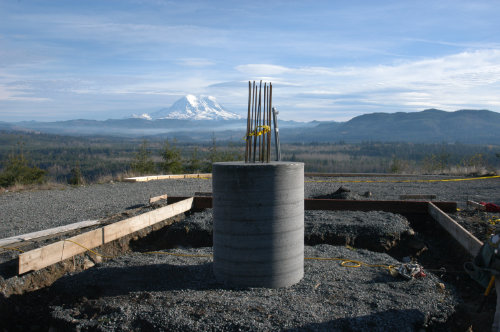
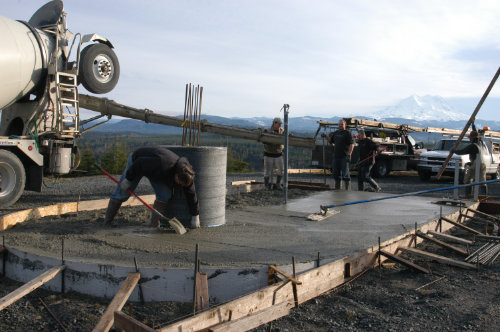
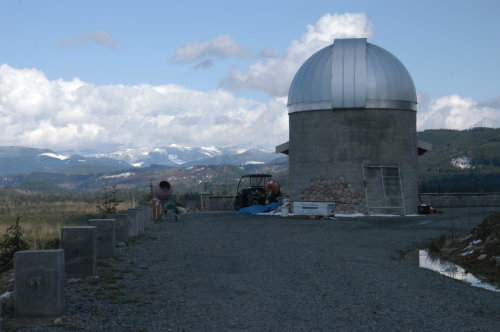
Step 3: Start with the Pier. Buildings shake a bit as people move about. They shake even more if they
have rotating domes as roofs. But a telescope that shakes -- even a little -- is no good.
We learned that we needed to first build a pier to support the telescope and then build the observatory around it
in such a way so that the two components didn't touch. This way, any vibrations would not be transmitted to the
telescope. Our pier would be 18 feet tall and over 10,000 lbs. The photo below shows the bottom part.
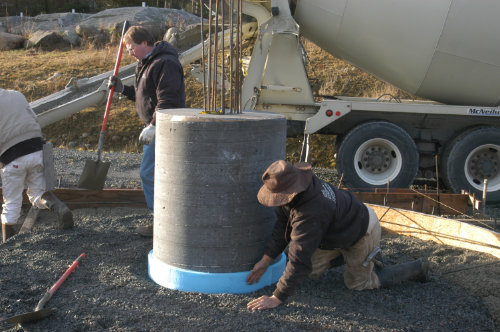
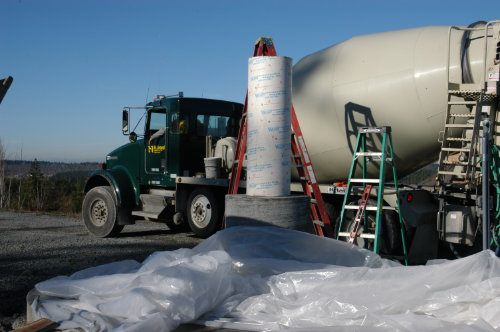
Step 4: Line the Pier with Foam. To keep shakes from being transmitted to the telescope, we lined the
lower section of the pier, where the floor would be, with foam.
Step 5: Pour the Floor and Middle Pier. The concrete was poured in multiple steps -- the inside floor, the
middle section of the pier and the porch.
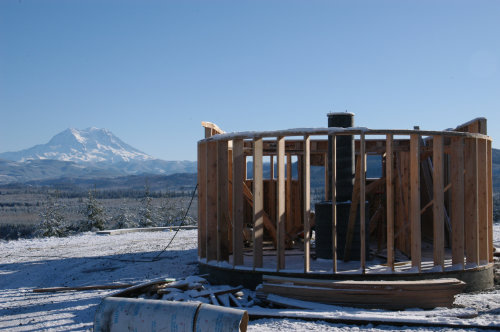
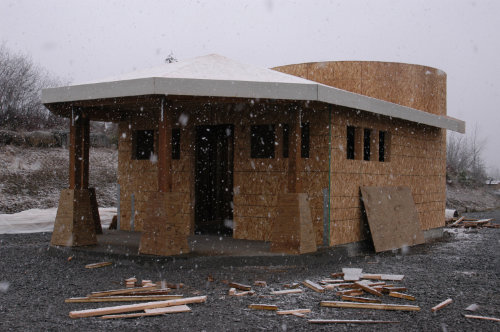
Step 6: Do the Framing. This took a lot of time due to all the rounded surfaces. Snow on several days
didn't help!
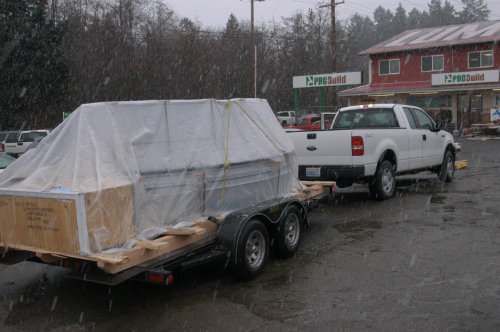
Step 7: Order a Dome kit. Our 16', 4000 lb Ash dome came on a long pallet. Since we didn't
have a forklift, we had it delivered to a local hardware company which could load it onto our trailer.
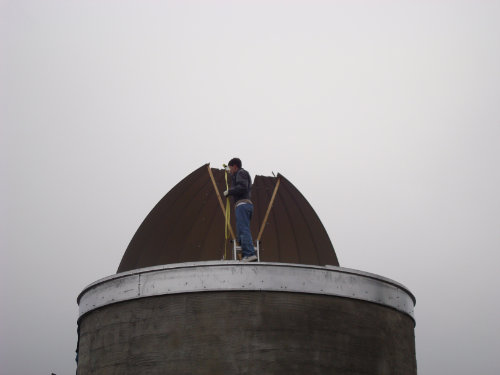
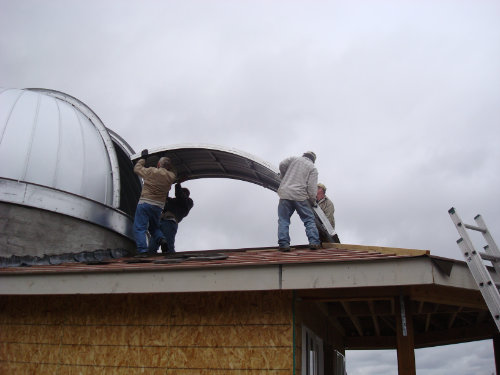
Step 8: Assemble the Dome. How does one put a dome together? We found a teenager who was an
expert Lego builder to put it all together... for real... and, after three days, he was done! Oh yeah, find some friends
to help with lifting the enormous door.
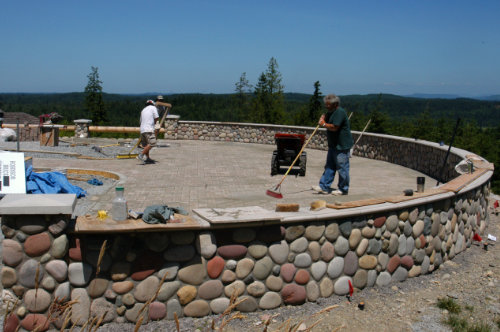
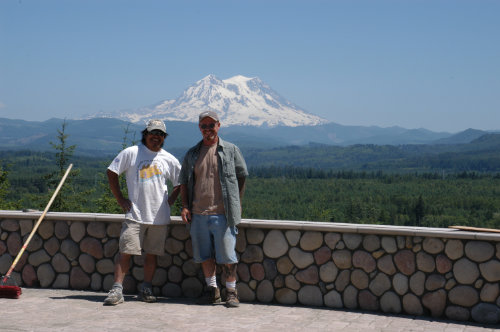
Step 9: Build an Outdoor Viewing Platform. Of course, on warm, clear nights, the best viewing is done
outdoors. So we needed a large platform in front of the observatory to accommodate lots of
people and telescopes.
Step 10: Do the Finish Work. Windows, doors, siding, trim, sheetrock, floors, woodwork, paint and
trim -- all took time.
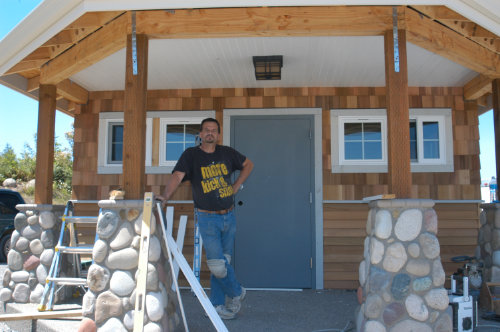
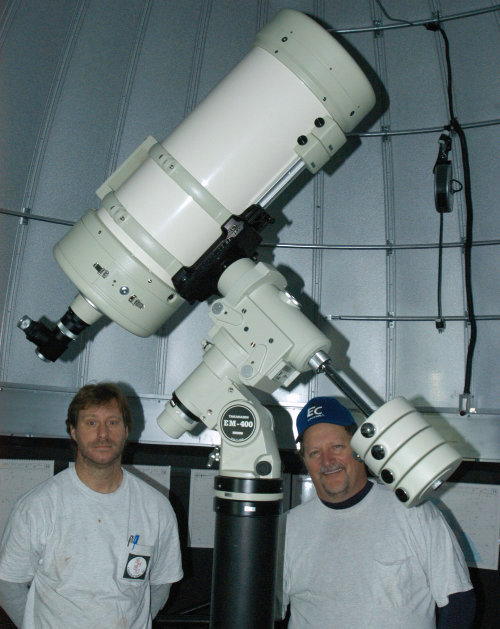
Step 11: Attach the Metal Pier, Mount and Telescope. On top of our concrete pier would be a 6' metal pier.
Our pier was custom built by these two craftsmen. The mount and telescope were attached to this.
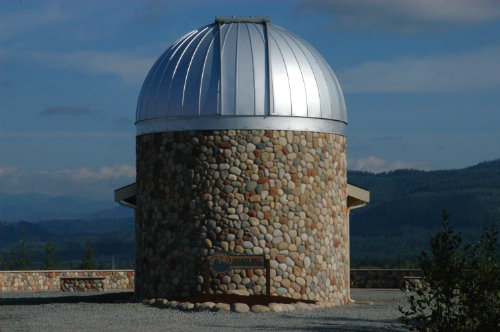
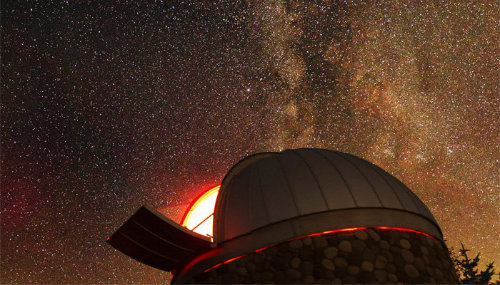
Step 12: Finish Up. So many final steps: stonework, computerizing the dome, landscaping, and, of course,
putting up the Starry Hill Observatory sign!
Oh yeah, while you're at it, build a full-size planetarium... but that's another story!
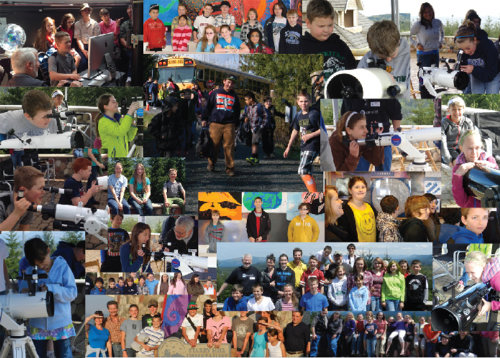
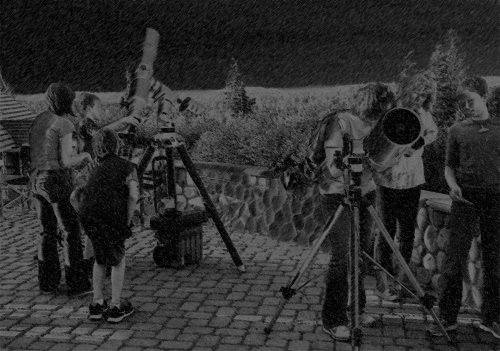
Step 13: Invite Kids and Adults. We've had many thousands of people visit Starry Hill for daytime shows
and evening star parties. So much fun!
Be sure to check out some of the astrophotos we've taken from the observatory, several taken by kids. Or check out our Star Guide feature with its tools for knowing what's out each night and where to
look.
|
| |